What happens during a collision repair, step by step?
Quick answer
A proper collision repair moves through defined stages: intake with photos and a pre-repair scan, teardown to find what the impact hid, a written repair plan approved by your insurance company, parts on order, structure measured and pulled to spec, panels fixed or replaced, corrosion protection rebuilt, refinishing in a booth, then reassembly, calibration where required, alignment, and a final inspection before you get the keys and the paperwork.
- Drivable or not
- At fault or not
- Free written estimates
Stage 1: intake, photos, and a pre-repair scan
Nothing gets unbolted on day one. First the car is documented — photographed on every side, VIN and odometer recorded, paint code and trim noted, and any old damage marked down so it never gets mixed up with the new hit. That record protects you with your insurance company as much as it protects us.
On most late-model vehicles the intake also includes an electronic health scan. Every control module gets read for stored faults, which tells us what the impact touched before a single panel comes off: a pretensioner that fired, a radar unit flagging itself, a ride-height sensor sitting out of range, an airbag circuit that will need work.
This is also the stage where the claim gets organized — who is paying, what the DCPD split looks like if you were not at fault, and a written timeline for you. When the car cannot be driven, this stage starts with us helping arrange the tow, whether it is coming off the 401 on a flatbed or out of a condo garage downtown.
Stage 2: teardown and the repair blueprint
The honest estimate is written after teardown, not before it. We open the damaged area up — cover, lamps, liners, brackets, the reinforcement behind the bumper — until everything that took the hit can be seen, measured, and photographed. No camera pointed at the outside of a bumper cover can tell you the absorber behind it is crushed or that a radar bracket has shifted.
What teardown exposes becomes a blueprint: part numbers for your exact VIN, every operation listed, and the manufacturer’s published procedure for each one. Procedures are not optional detail — two vehicles that look the same on the street can require different weld types, different section joints, and different calibration steps depending on year and trim.
Any hidden damage goes to your insurance company as a documented supplement, photos attached, before the repair proceeds. Settling that in one conversation at the start beats stopping the job three days in and waiting on an adjuster while your rental days burn.
Stage 3: structure before panels, always
Cosmetic work waits until the structure is right, because every downstream step assumes the car is the correct shape. When the underbody sits a few millimetres off, doors gap unevenly, glass will not seal, the alignment will not come into spec — and paint cannot disguise any of it.
The vehicle is clamped to a frame bench and compared against the factory dimensions in three axes. Where the structure has moved, hydraulic towers pull it back in small controlled stages with live measurement, so the pull lands exactly on spec instead of blowing past it. Both the before and the after numbers go into your file.
Once the shell measures true, panel work begins. Metal that can come back is worked with hammers, dollies, and measured pulls. Panels that are torn, creased through a body line, or made from a steel grade the manufacturer forbids straightening or heating get replaced instead — at the factory seams, or at a section joint the procedure defines for that part.
Stage 4: corrosion protection and primer
Wherever metal was cut, welded, ground, or drilled, the corrosion protection has to be rebuilt from scratch. This is the invisible step cheap repairs skip — and on a car that will spend every winter in Toronto road salt, it is the step that decides whether the panel is still solid five winters from now.
- Weld-through primer between the mating flanges before a new panel goes on
- Epoxy primer sealing every square centimetre of bare metal, backsides included
- Seam sealer laid to duplicate the factory bead rather than smeared across the joint
- Cavity wax injected into rails, rockers, and any closed section that was opened
- Undercoating and sound deadening restored wherever the factory applied them
Stage 5: prep, colour, and the booth
Paint quality is earned in prep. Filler goes on thin, over metal that is already straight, and gets block sanded until the panel reads dead flat under a guide coat. Primer follows, gets sanded, and any low spot that shows is corrected before colour ever leaves the mixing room.
Colour is matched to your car as it exists today, not as it left the plant. Every finish drifts under sun and time, so we read the actual panel with computerized colour matching, tint the formula, and spray a test card to compare against your paint in good light before the gun touches the vehicle.
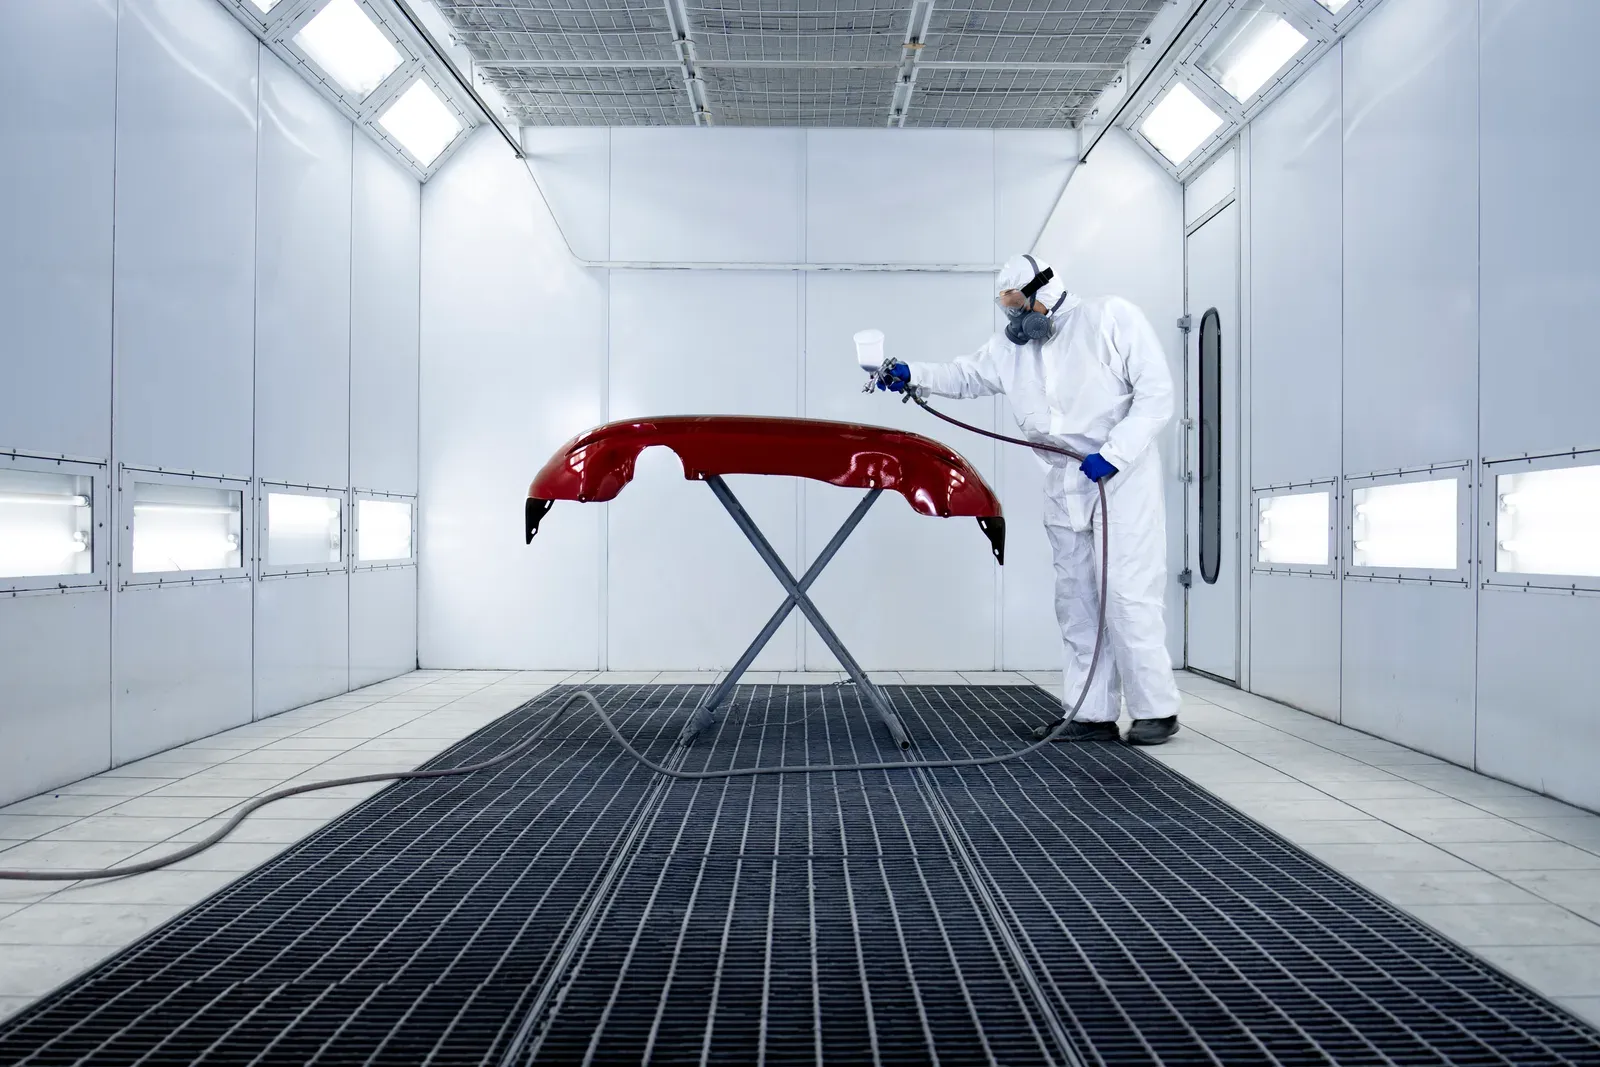
Inside the downdraft booth, filtered air enters at the ceiling and exits through the floor, pulling overspray down and away from the wet surface instead of dragging it across. Base coat is blended into the neighbouring panels so no edge exists to catch your eye, clear goes over the whole area, and a bake cycle cures the film properly.
Stage 6: reassembly, calibration, and final checks
Reassembly returns every piece to its factory position — trim, lamps, liners, mouldings, emblems, and each sensor on its correct bracket. Cameras and radar modules are refitted to specification and function-checked, and where the manufacturer’s procedure calls for a formal calibration afterward, that operation is written into the plan and completed as part of the job.
A post-repair scan verifies no fault codes remain. If the structure was pulled or suspension parts were replaced, a wheel alignment follows. Then the car gets washed, detailed, and road tested on real streets.
The last step is a second set of eyes: gaps checked against the untouched side of the car, colour checked under more than one light source, and each estimate line confirmed as actually performed. Only after that do you get the call.
At pickup, leave with the paperwork, not just the keys — and ask for it if it is not offered. A shop that measures and documents has nothing to hide, and you will want that file if you ever sell the car or a claim gets revisited. A complete file includes:
- A final invoice matching the approved repair plan line for line
- Before-and-after structural measurements on any pull or section
- The pre-repair and post-repair scan reports
- Photos of the hidden damage behind each supplement
- Written warranty terms — lifetime on our paint and refinish work