Take it outside — never judge paint under a roof
Every defect in this guide is easier to catch outdoors. Indoor light flatters paint; the sun interrogates it — and if the hand-off happens in an underground garage, insist on driving up the ramp before you sign anything, because condo-garage fluorescents are where bad paint goes to hide. Read the car the way painters do: stand well back to judge colour, come to arm’s length for texture, then get close at the edges — jambs, mouldings, panel gaps — where shortcuts live. As you walk the side, follow a reflection travelling down the bodywork. On good paint it flows; on bad paint it stutters, kinks, or changes personality mid-panel.
Do this walk at pickup if you possibly can, because problems raised at delivery are the cheapest and fastest to resolve. But the identical routine works on a used car you’re considering, or on last season’s repair that has started to whisper at you.
Bring your phone. A photo at each stop of the walk-around costs nothing and settles everything later — it timestamps precisely what the finish looked like on delivery day, which matters if a defect conversation ever stretches across weeks or a change of season. And if the lot offers both shade and open sun, use both: the shade line reveals texture, open pavement reveals colour, and ten unhurried minutes covers the lot.
Overspray: mist where mist doesn’t belong
Overspray is paint that escaped the job — a dry, faintly gritty haze on surfaces that were supposed to be protected. Drag your fingertips across the glass near the repair, the black trim, the rubber weatherstrips, even the tires and inner wheel wells. Cured overspray feels like fine sandpaper and often shows as a dull fog at a low viewing angle. It means the masking was incomplete or careless — and it earns the fair follow-up question of what else got rushed that day.
The remedy depends on the victim. Glass and cured paint usually recover with claying and a careful polish. Textured black plastic and rubber are far less forgiving — the mist keys into the grain, and badly fogged trim is often a replacement conversation rather than a cleanup.
Tape lines and dry edges
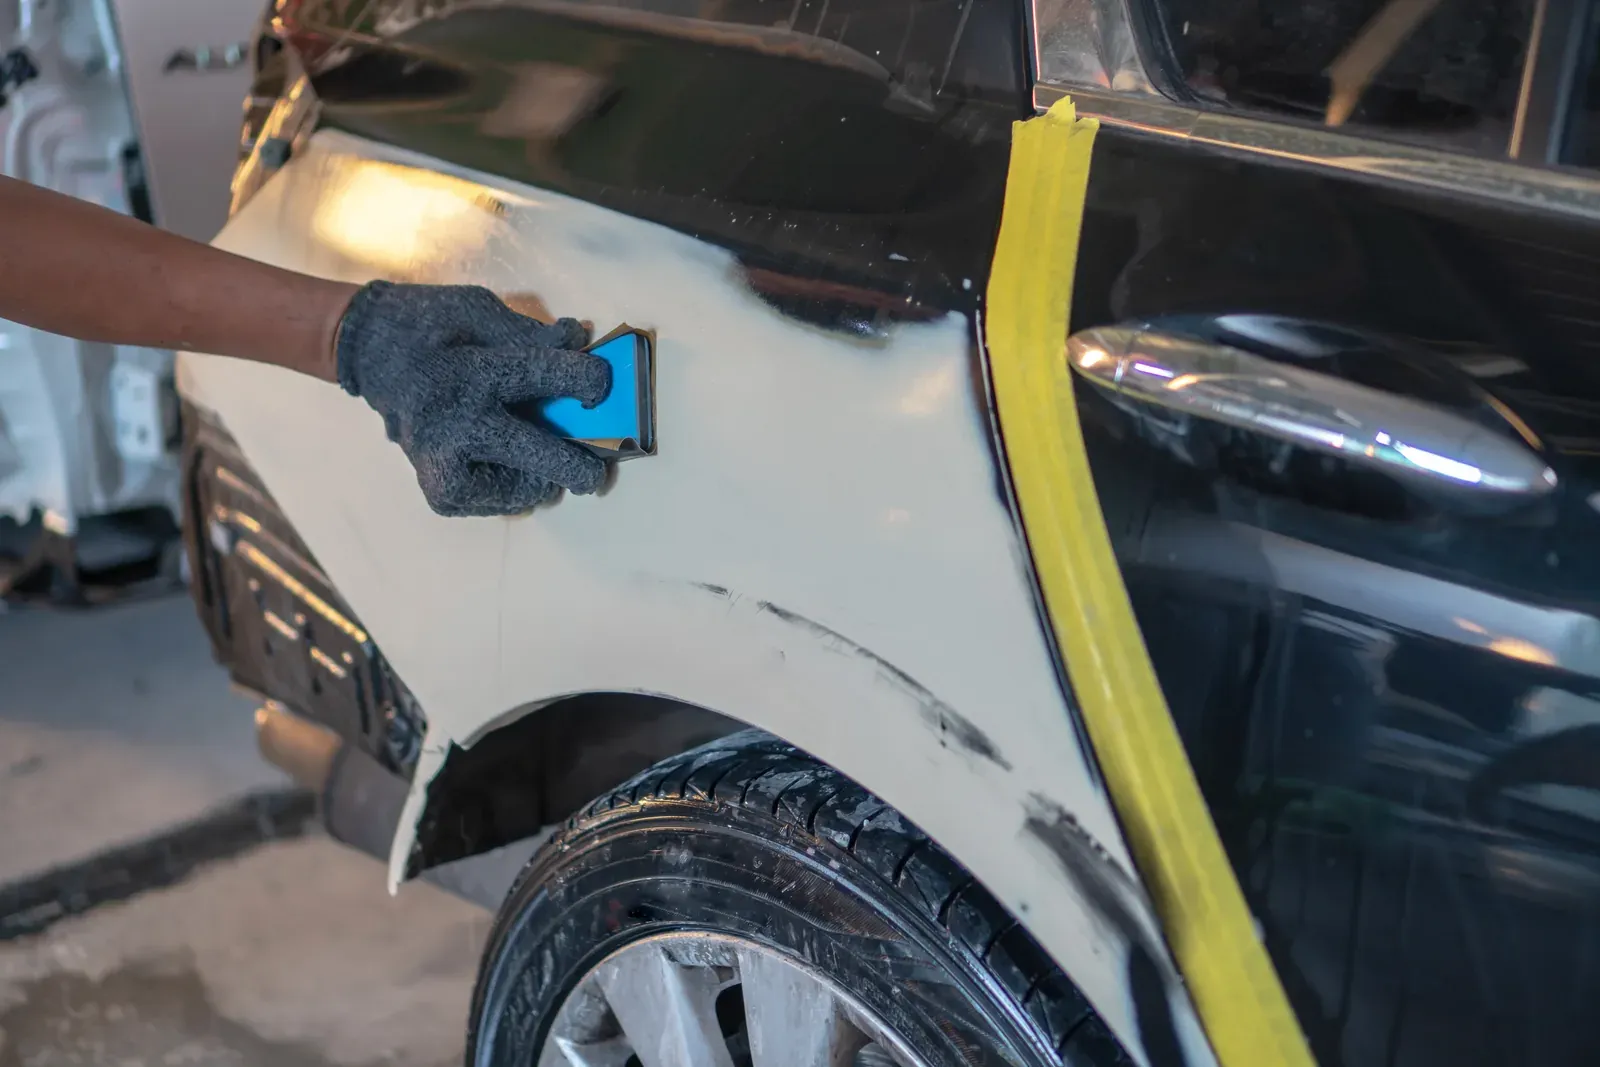
Open the doors, the hood, and the trunk, and look just inside each opening. A hard, straight line where the new paint stops — a little ridge your fingernail can catch — is a tape line, and it means the painter masked at the opening instead of carrying the finish properly into the jamb. The same tell shows up along mouldings that stayed on the car when they should have come off.
Tape lines are more than a cosmetic sin. A paint film that dies at an abrupt masked ridge presents a raised edge for water and wax to work at, and that’s where peeling takes its first bite. Edges are also simply where the eye lands — a repair that’s flawless mid-panel and sloppy at the boundaries was built to survive a quick glance, not years of ownership.
Dirt nibs, runs, and dry spray
Crouch down and sight across the panel toward a light source. Tiny bumps beneath the surface — dirt nibs — are airborne particles that landed in wet paint and got sealed under the clear. One or two can be nibbed and polished out in minutes, and a good shop does exactly that before you ever see the car. A whole scatter of them tells you the spray environment was dirty, and everything painted that day shared the same air.
While you’re low, scan the vertical surfaces near edges for runs and sags — paint that went on too wet and crawled before it set. Then check the borders of the repair zone for dry spray: a dull, gritty band where mist landed half-dried on the surrounding finish instead of flowing out glossy. Each one is a small confession about technique.
Texture and colour that change with the angle
All modern paint carries some orange peel — a gentle texture in the surface. The defect isn’t peel itself; it’s disagreement. If the repainted door is glass-flat while the original fender wears factory texture, or the other way around, the repair shows even when the colour is dead-on. Compare adjacent panels at arm’s length in a reflection; they should speak with one voice.
Colour gets its own angle test. Metallics and pearls that agree head-on can fall apart when you sight down the bodyside at a shallow angle, because the flake in the new paint is lying differently than the flake in the old. Walk a slow arc around the repair and watch for the panel that changes its story as you move.
Neither test needs expertise — it needs the original panels sitting right there for reference. That’s the quiet advantage you hold over any checklist: the rest of your own car is the standard, and simple disagreement between neighbouring panels is the only finding you need. You don’t have to name the defect to be right about it. Note what you saw and where; let the shop supply the vocabulary.
Found something? Here’s the move
At delivery, don’t argue at the counter and don’t swallow it silently — document. Point out each issue, photograph it, and have it noted in writing with an agreed plan before you leave the lot. Reasonable defects like a stray nib or a whisper of overspray are quick corrections any good shop makes without friction; a texture mismatch or a visible colour problem is a redo conversation, and we’ve written separately about what a proper paint redo has to include.
And if the work was ours: the walk-around in this guide is the one we invite, in daylight, with us standing beside you. Our paint and refinish work carries a written lifetime warranty precisely so that finding a flaw — at pickup or seasons later — starts a fix, never a fight.